Creating Users
Each of the roles created in the previous step will now need to be assigned to specific users within iFoundry. The user then manages different areas within the application on the basis of the role and the permissions assigned to them.
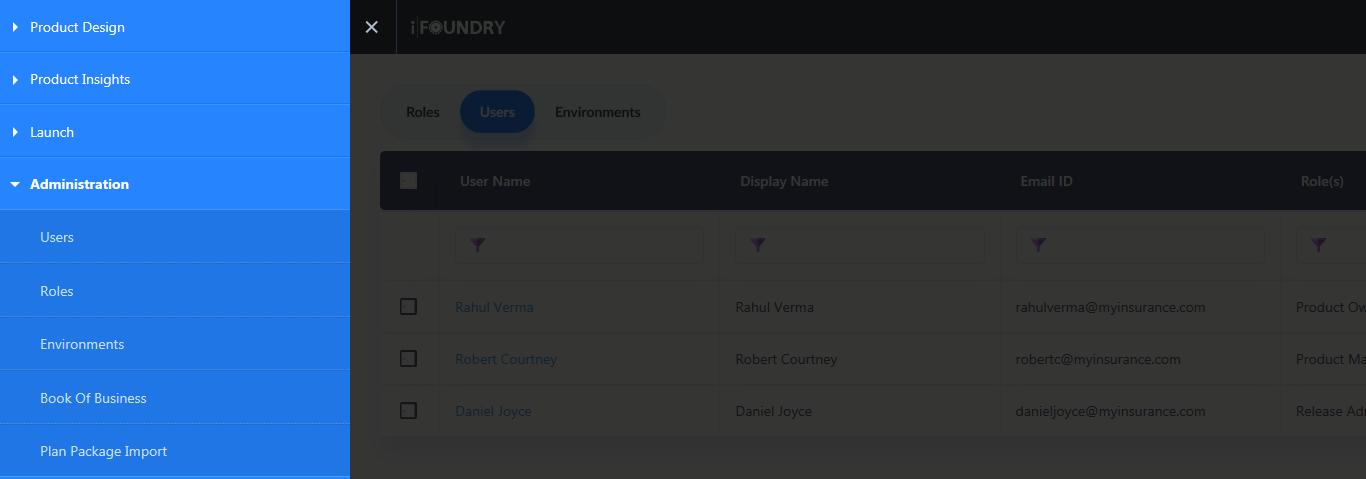
1. To create a User, navigate to the main menu, and under the ‘Administration’ module, click on Users.
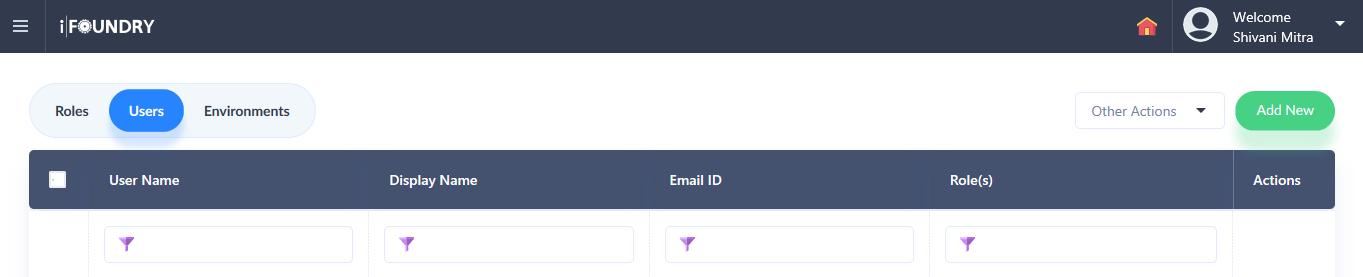
2. In the new window that appears, click on the Users tab above the grid to create a new User.
3. To create a new user, click on the ‘Add New’ option.
4. A new window appears, where input the basic details such as Name, User ID, Email, Profile Picture, and the status under the Basic Details section.
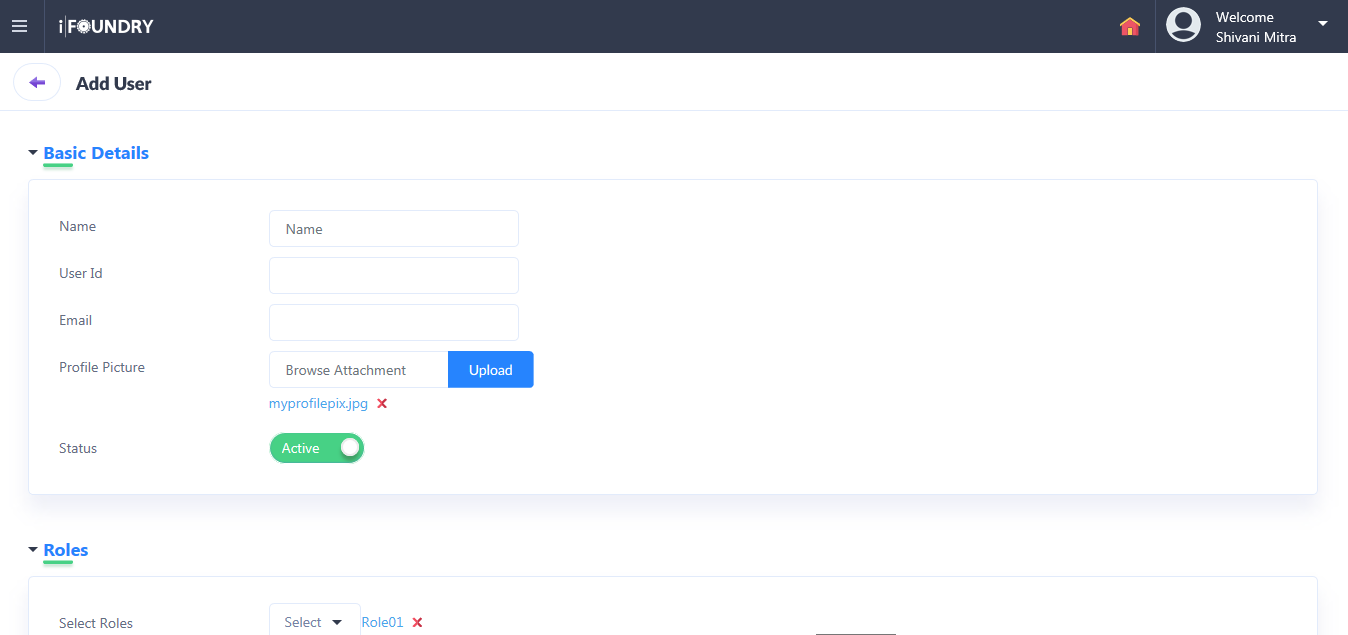
5. Under Roles, select the applicable role for the User being created. Setting this will enable the user being created to specific permissions for areas within iFoundry.

6. In case of multiple Users being created, click on Save and Add another. If not, click on Save. In doing so, the User(s) is added to the User grid.
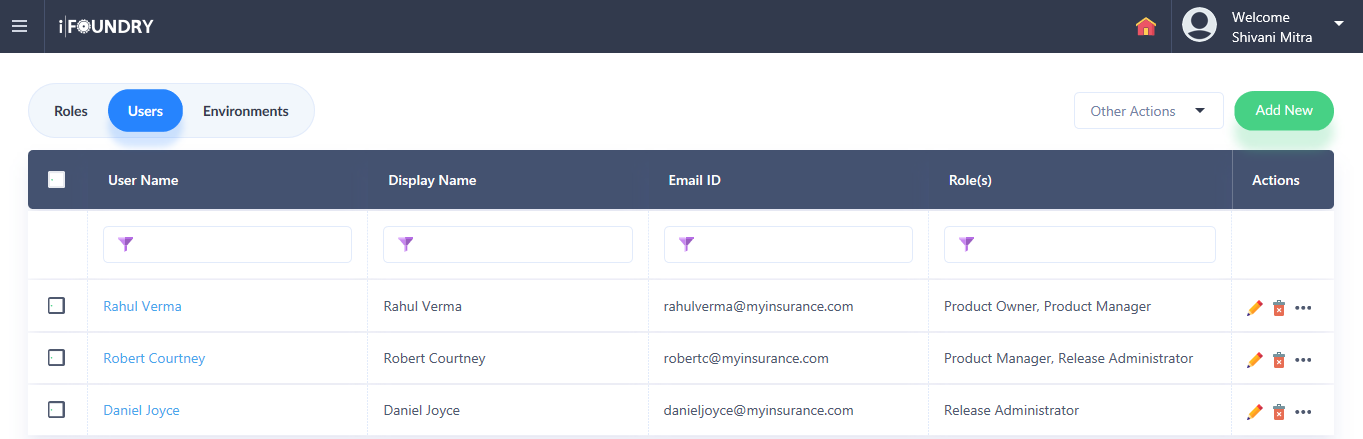
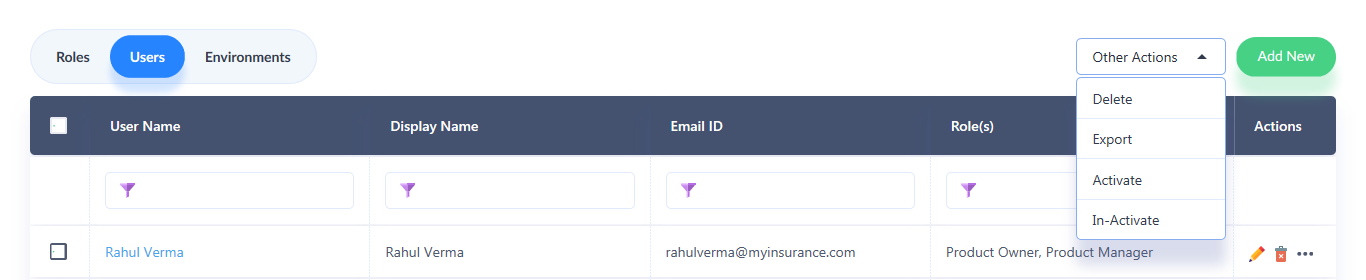
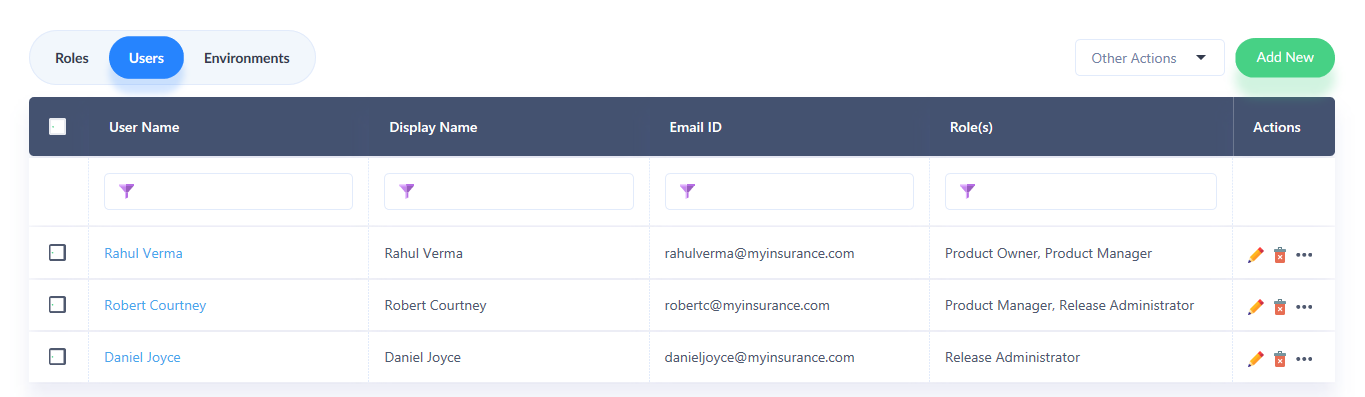
7. As seen in the list, information pertaining to the updates made to Users, along with the Display Name, Email ID, Role, actions such as edit and delete will appear against each User created.


8. Other actions such as Delete, Export, Activate and In-activate for one or all the Users can also be accessed from the drop-down menu above the grid.